 1999, First-Grade Homework")

Lenovo Yoga laptops, especially those from the “900”, “920”, “930”, and “940” series, have a design defect where their power circuitry can self-destruct. The company will not acknowledge this defect as serious enough for a recall, and has left many customers with broken audio (or worse) on their notebooks.
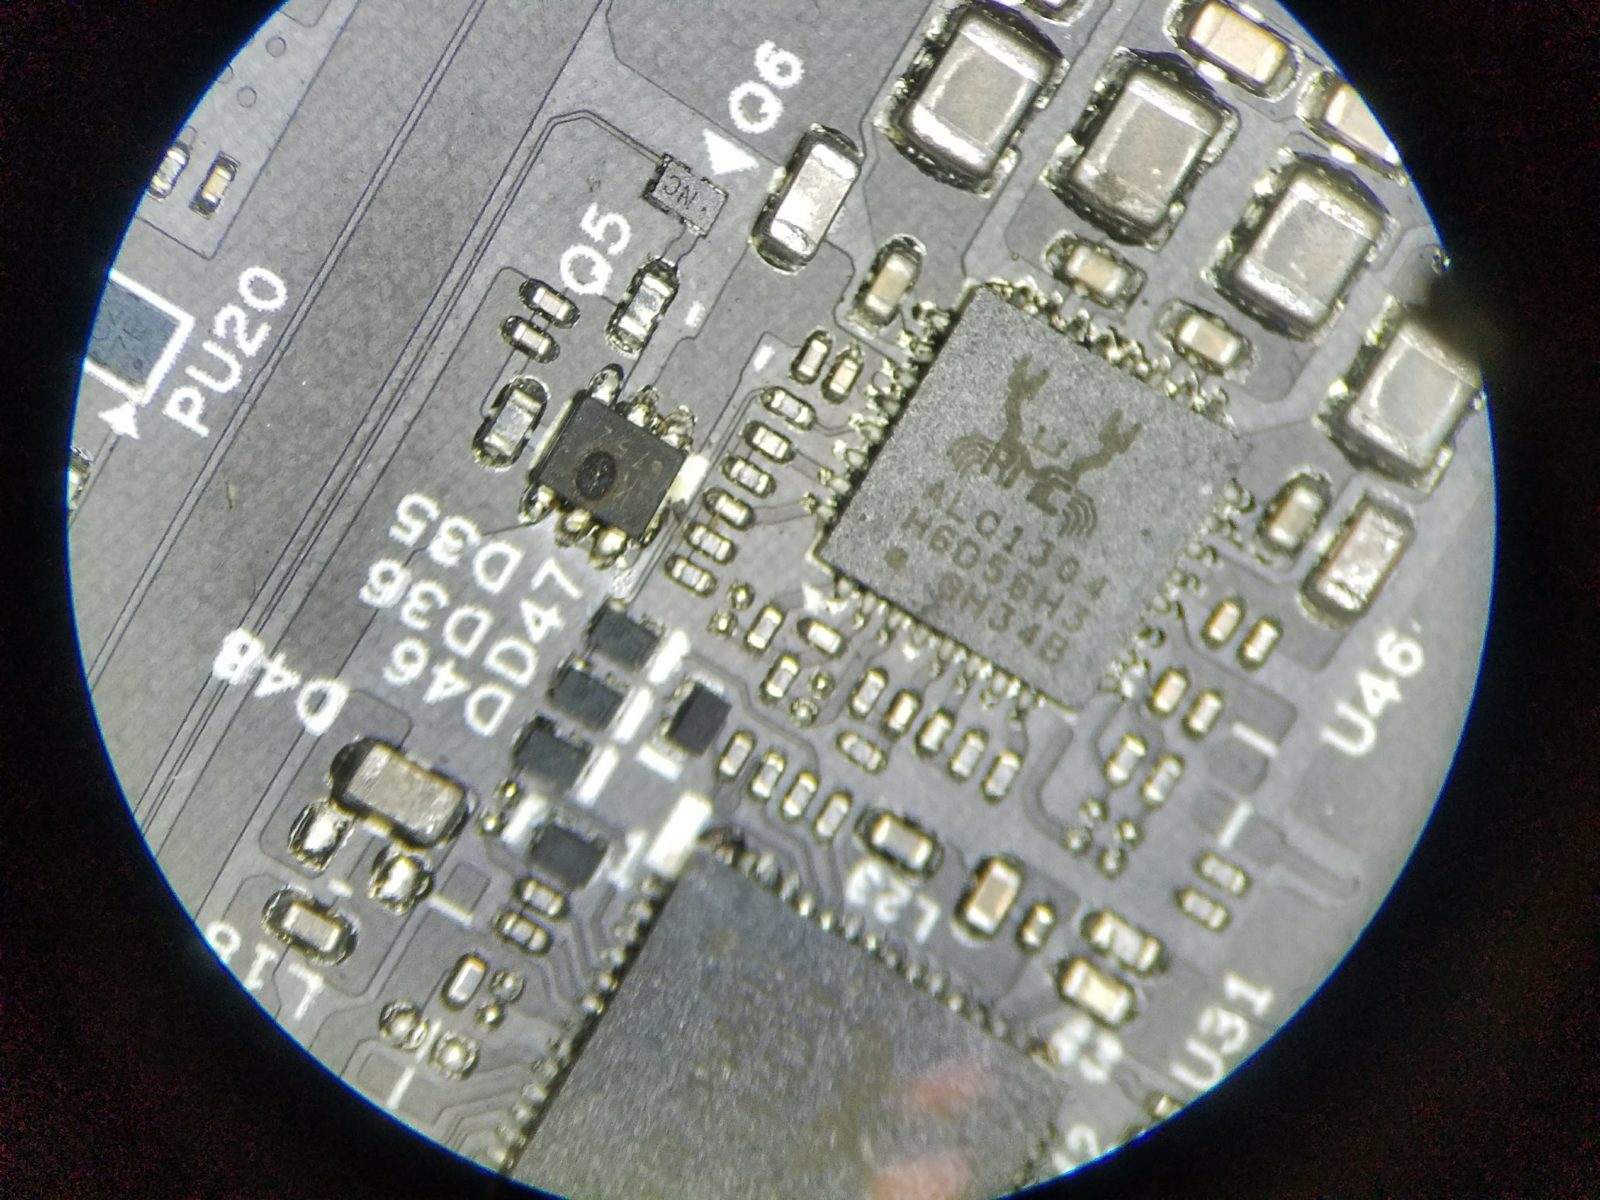
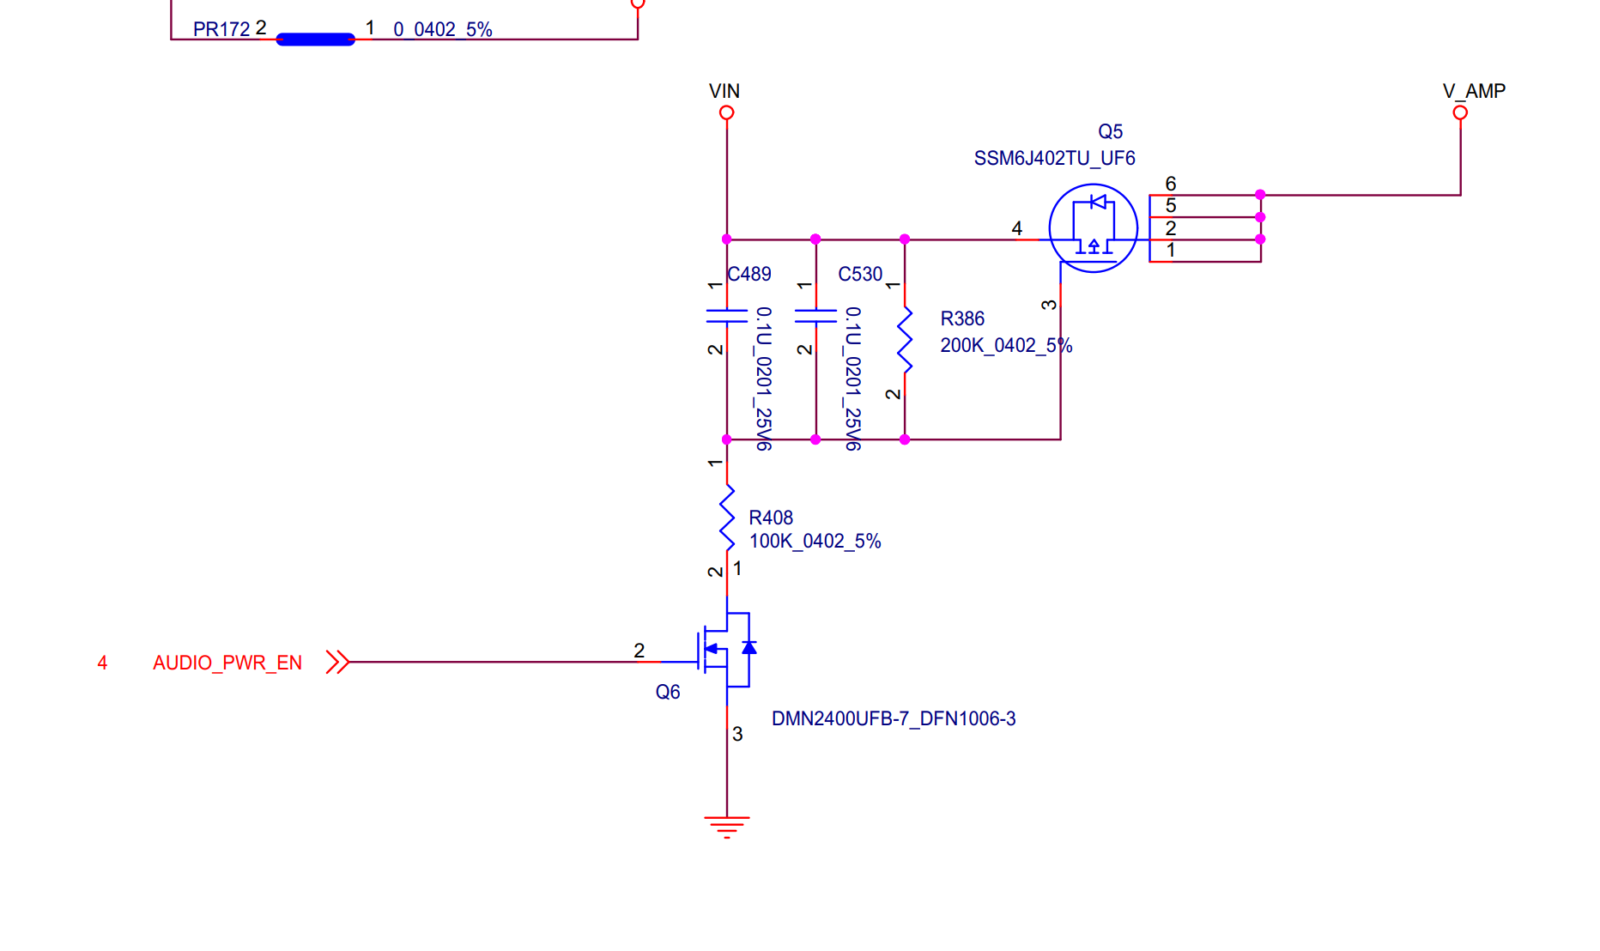
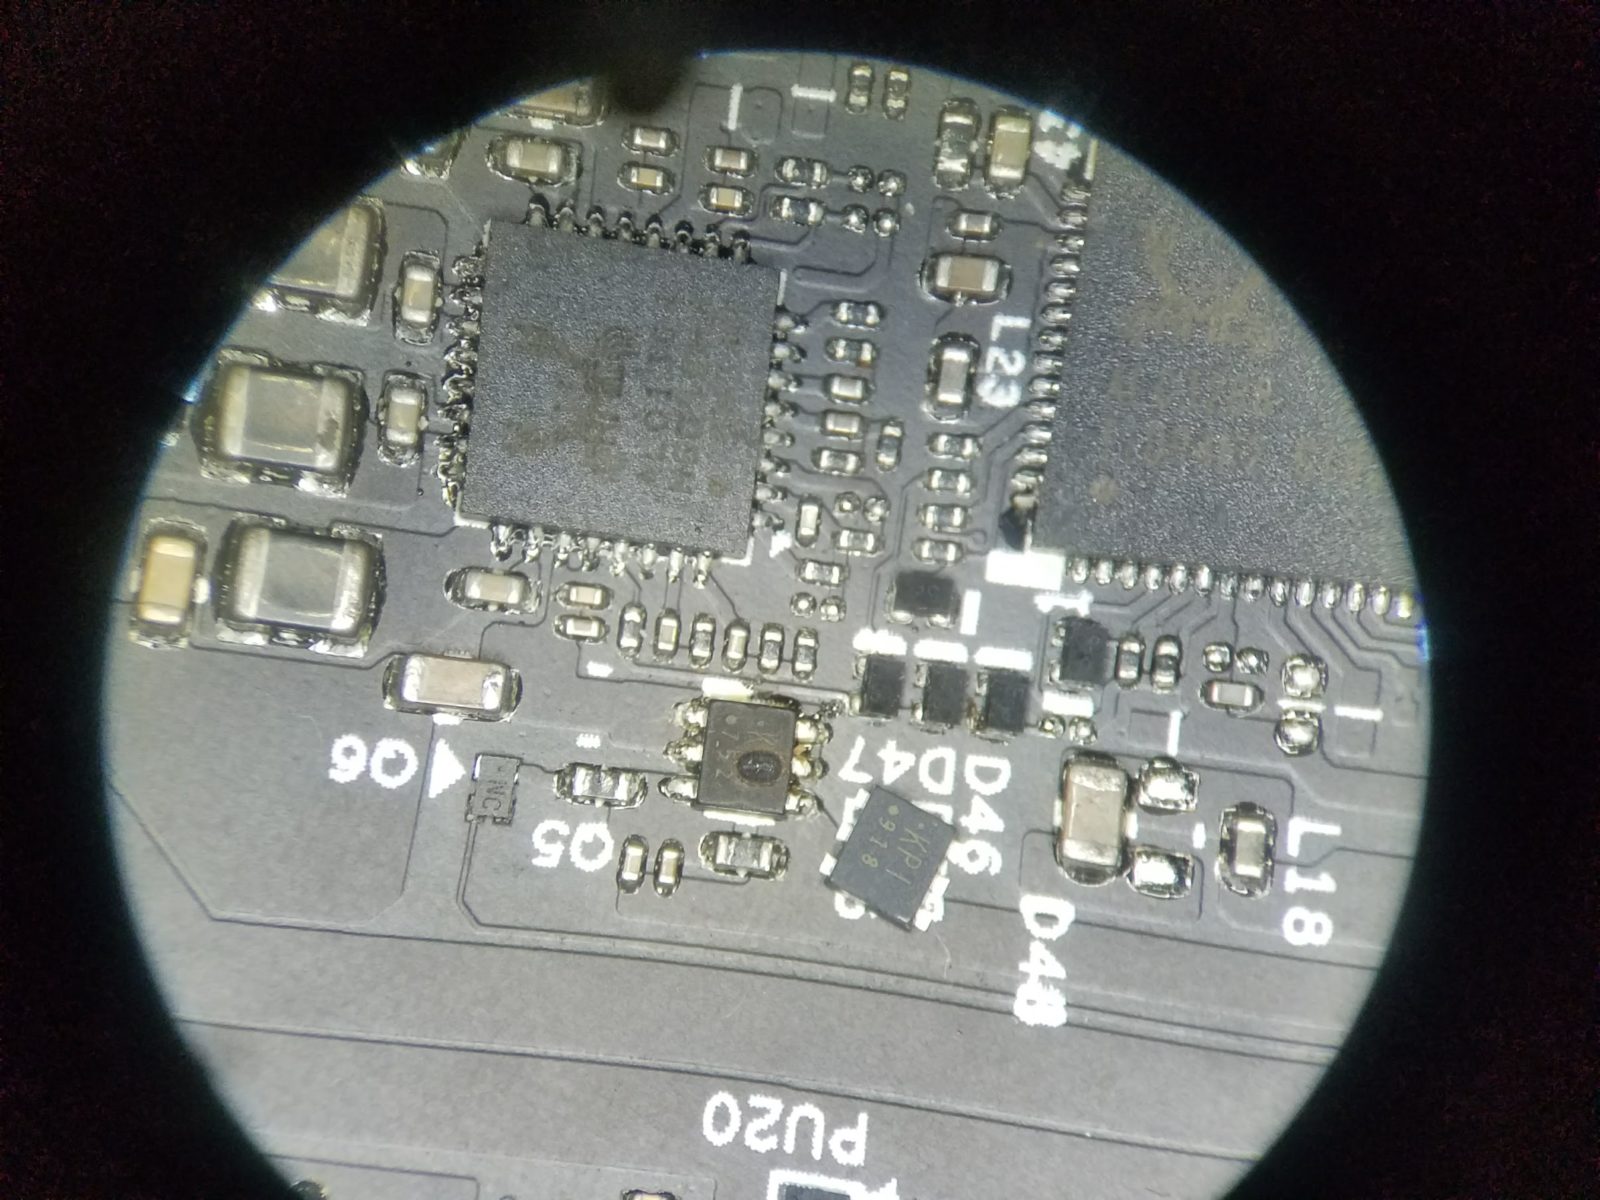
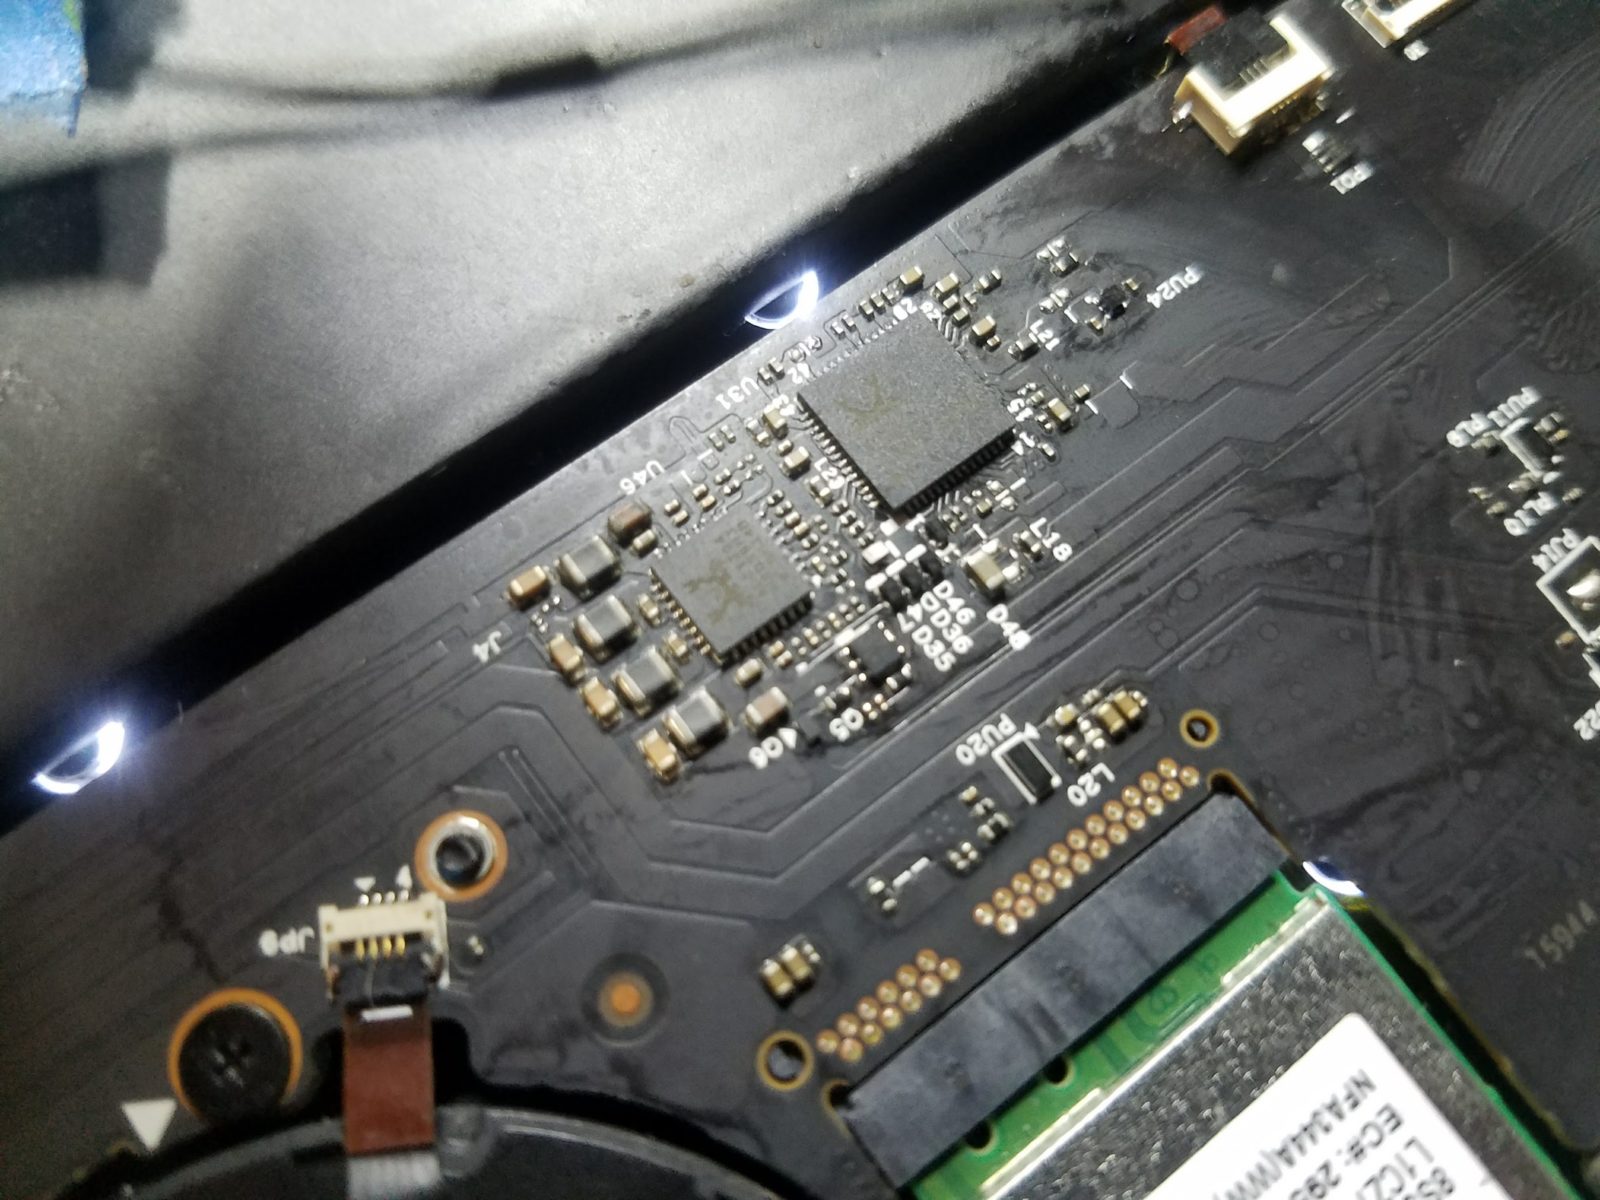
I have micrograph of this defect on my own Yoga, transistor “Q5” has a hole blown clean through it. According to the schematic I found, it’s a power MOSFET that turns on/off the audio circuit.
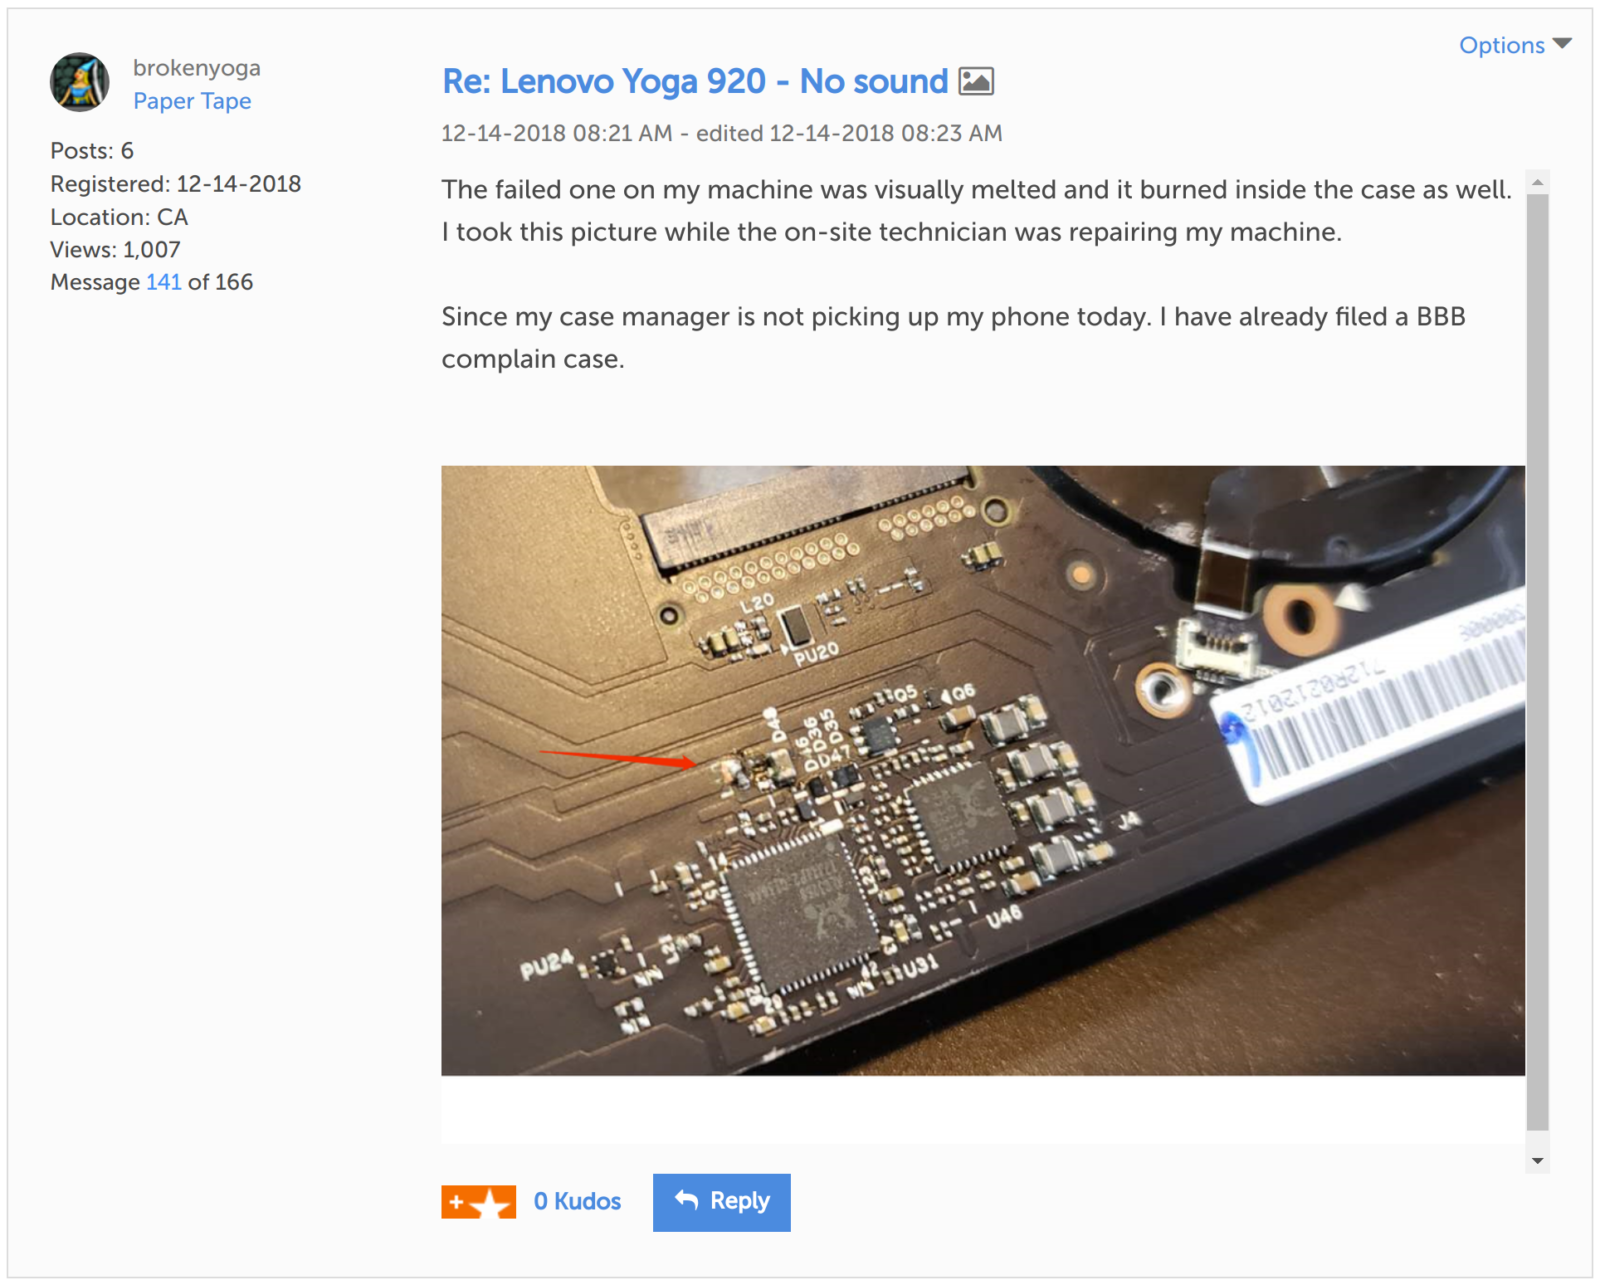
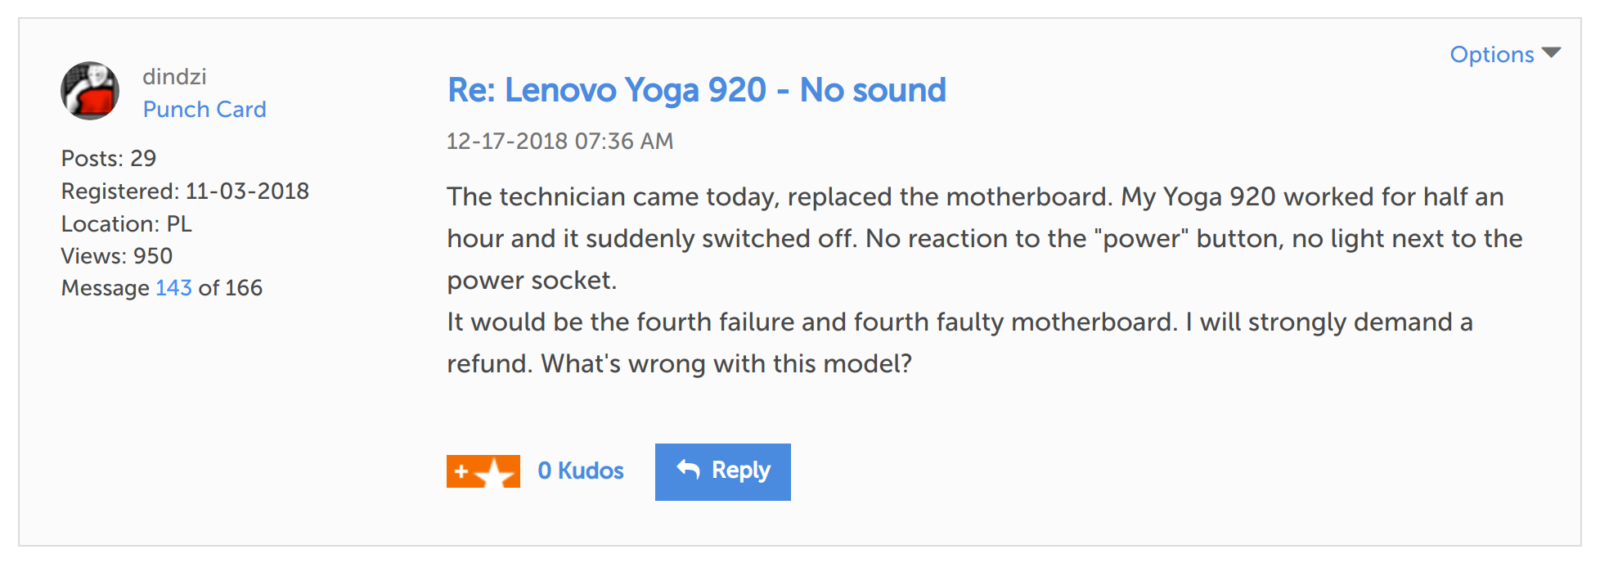
Like many others, including people on amazon and more than 50 people on Lenovo’s own forum, company support was unhelpful as inconveniently, these failures often happen just out of the warranty period.
Furthermore, lenovo has no sufficient replacement parts available for sale, and what is for sale online from 3rd party sellers is more expensive than buying a whole new laptop. It doesn’t help that a lot of the computer’s electronic components themselves cannot be purchased from digikey or mouser –many of them are also undocumented.
Unless Lenovo straightens this out with the customers they have sold broken machines to, I advise avoidance of yoga-branded laptops, as this is unacceptable practice for a manufacturer of thousand-dollar computers.
If you have experienced the similar defects, were denied a refund, and are interested in joining me for resolution, please reach out to me [at] adammunich [dot] com with whatever evidence of your frustrations you’d like to share, or do so in the comments below.
Update: Sept 10, 2019
I have received no response from Lenovo and decided that the only productive way forward was to take the issue into my own hands.
The suspect part in the laptop is a P-Channel MOSFET that turns on power to the audio amplifier. This part is available from mouser electronics for $0.50 or so, and so I ordered one to give a repair a shot.
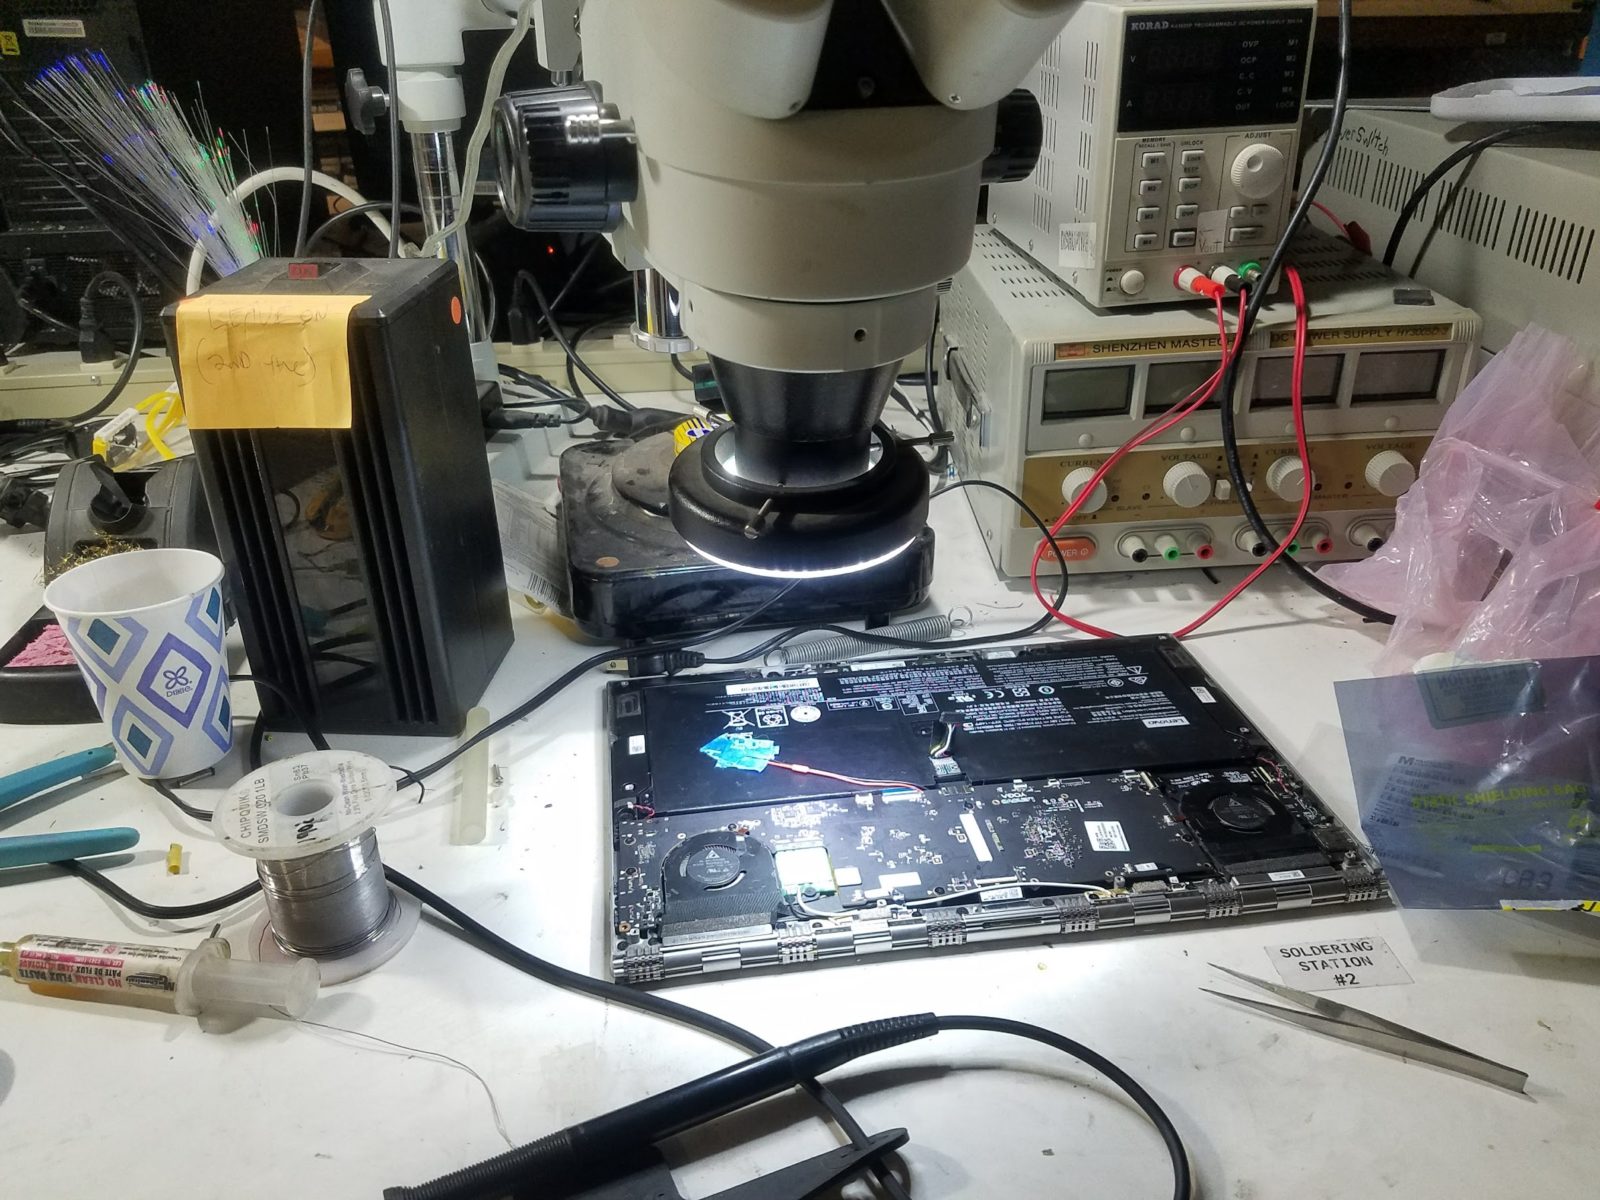
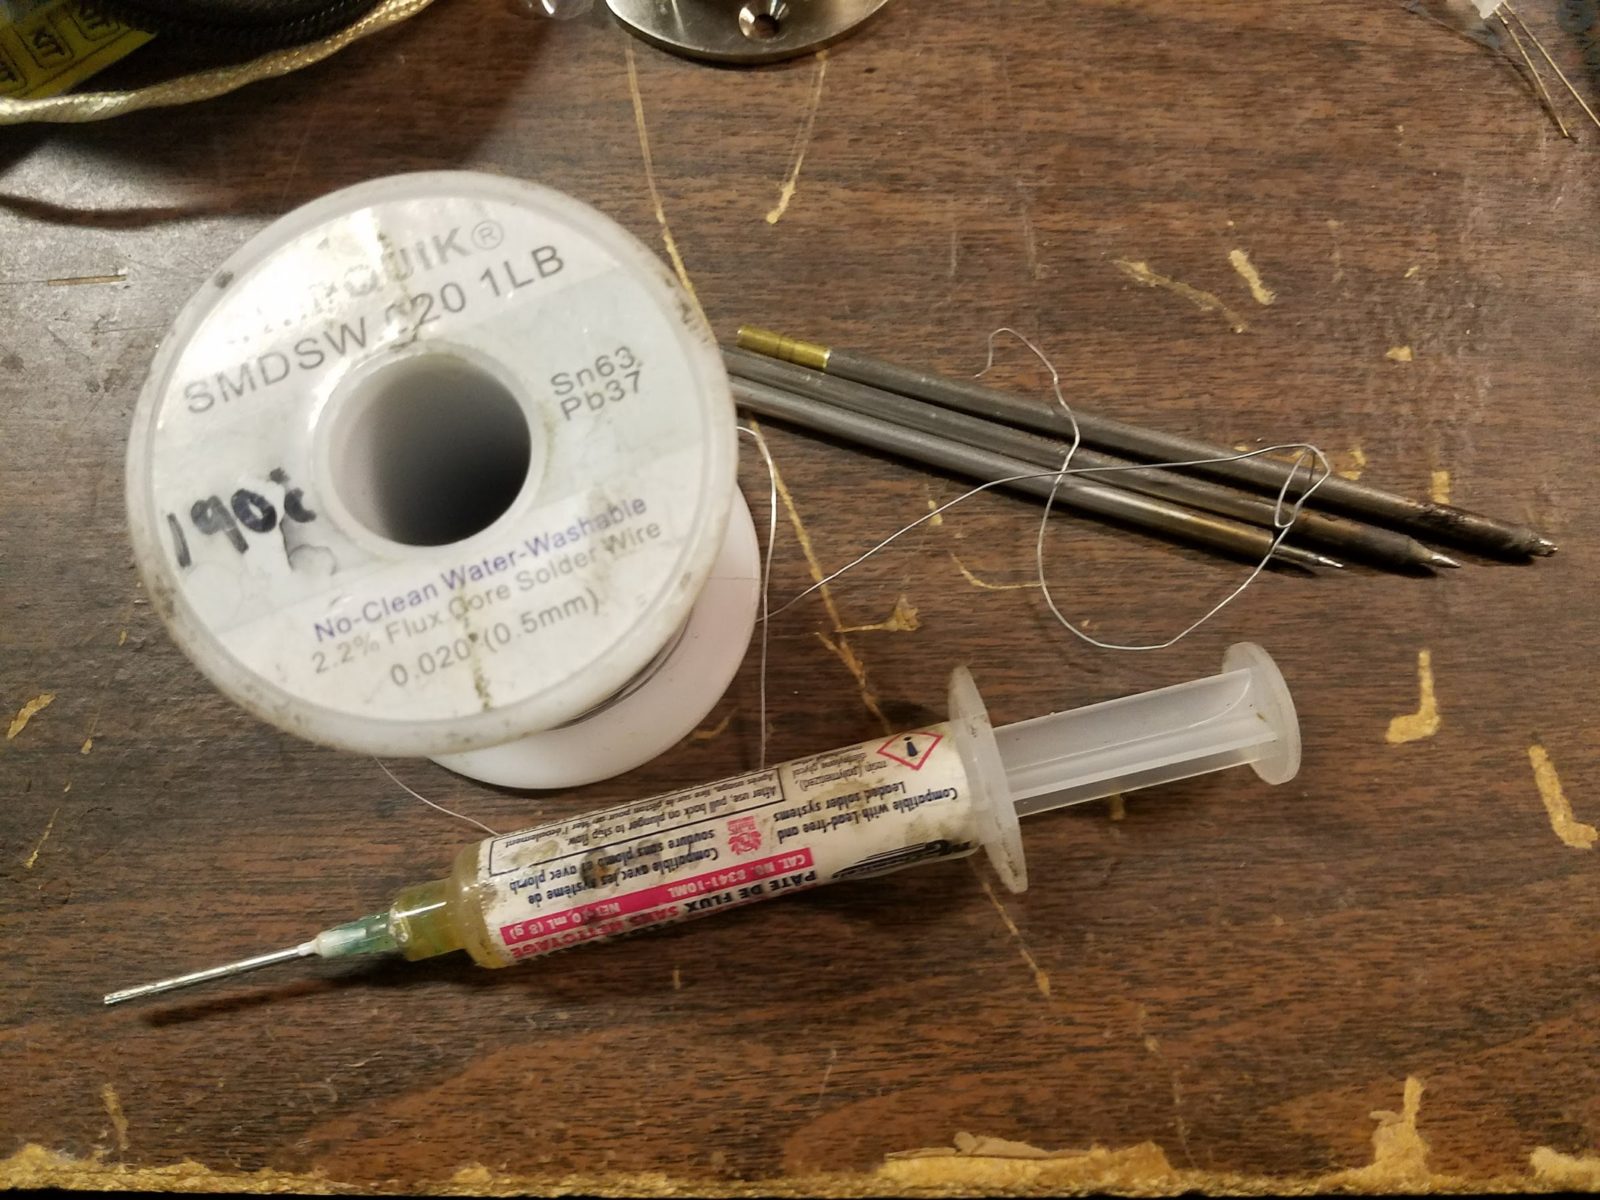
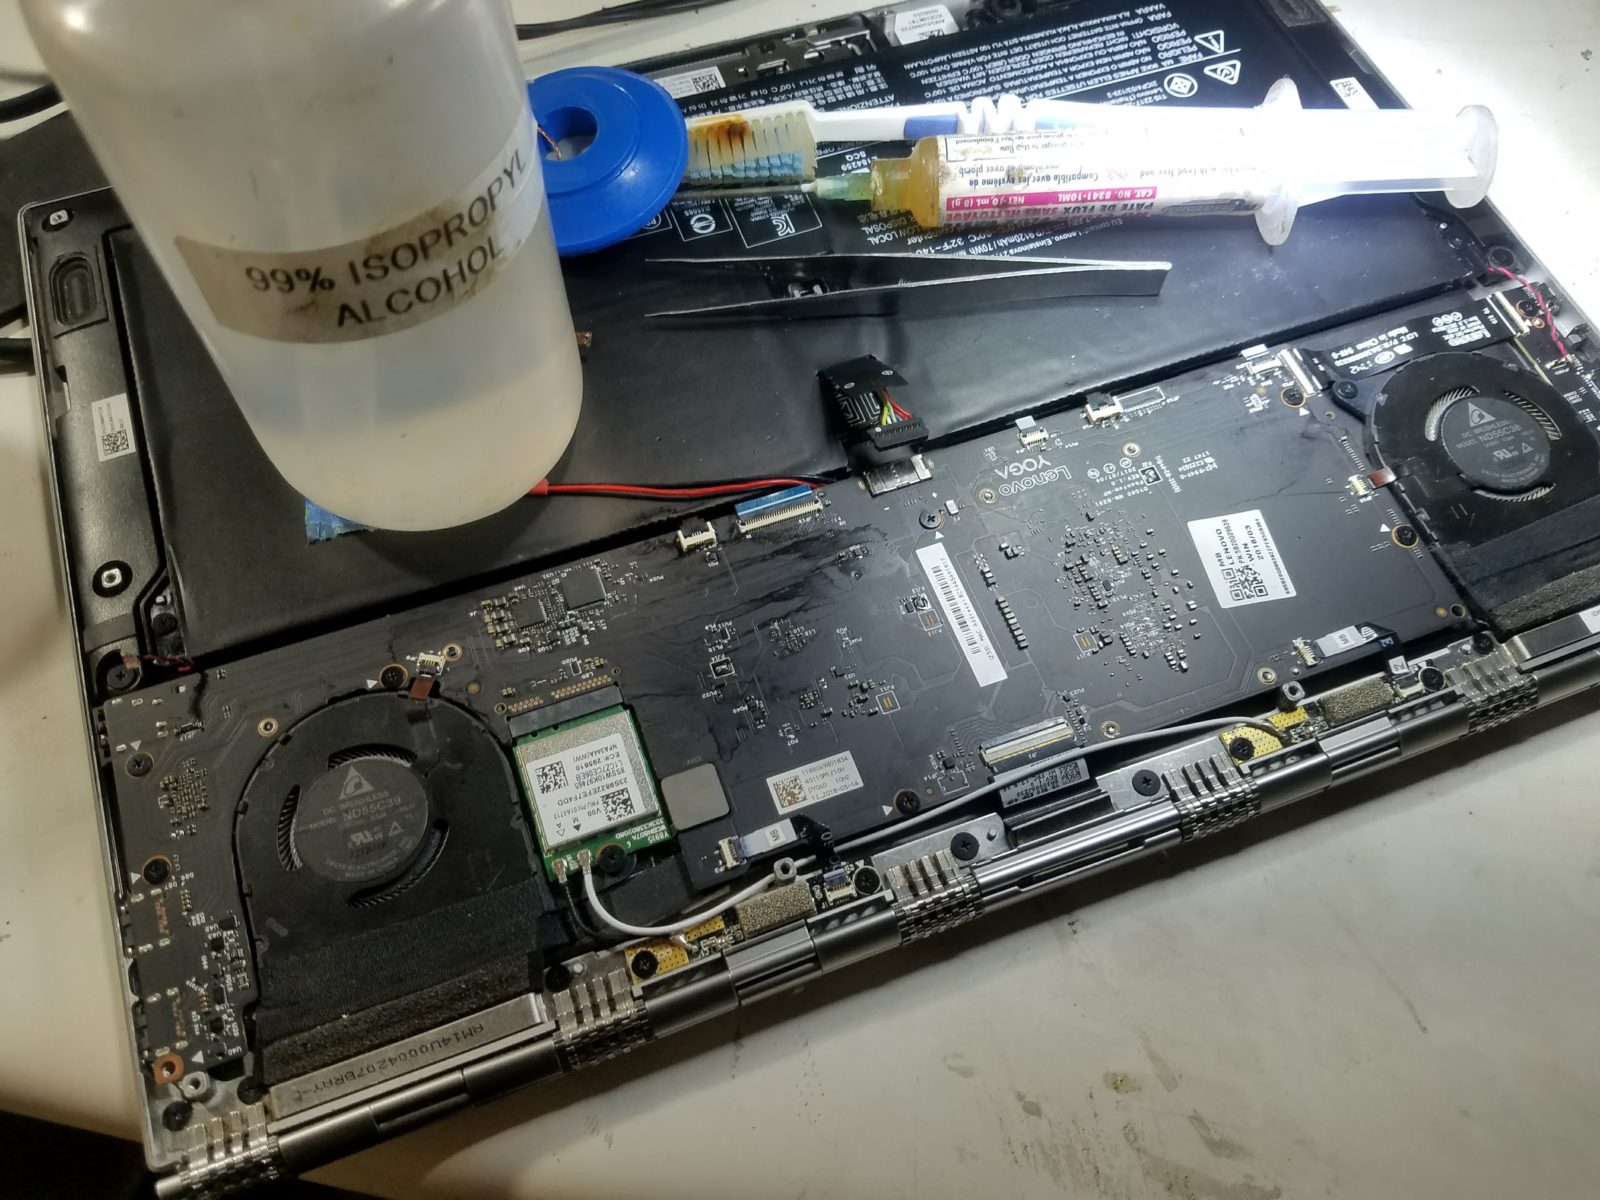
For the repair I used a stereo microscope, mg-chemicals flux, low melting point solder, and a metcal soldering iron with a very fine tip. It’s rather important to have this sort of equipment, as this transistor is *tiny*. Its pins are no more than half a millimeter from each other.
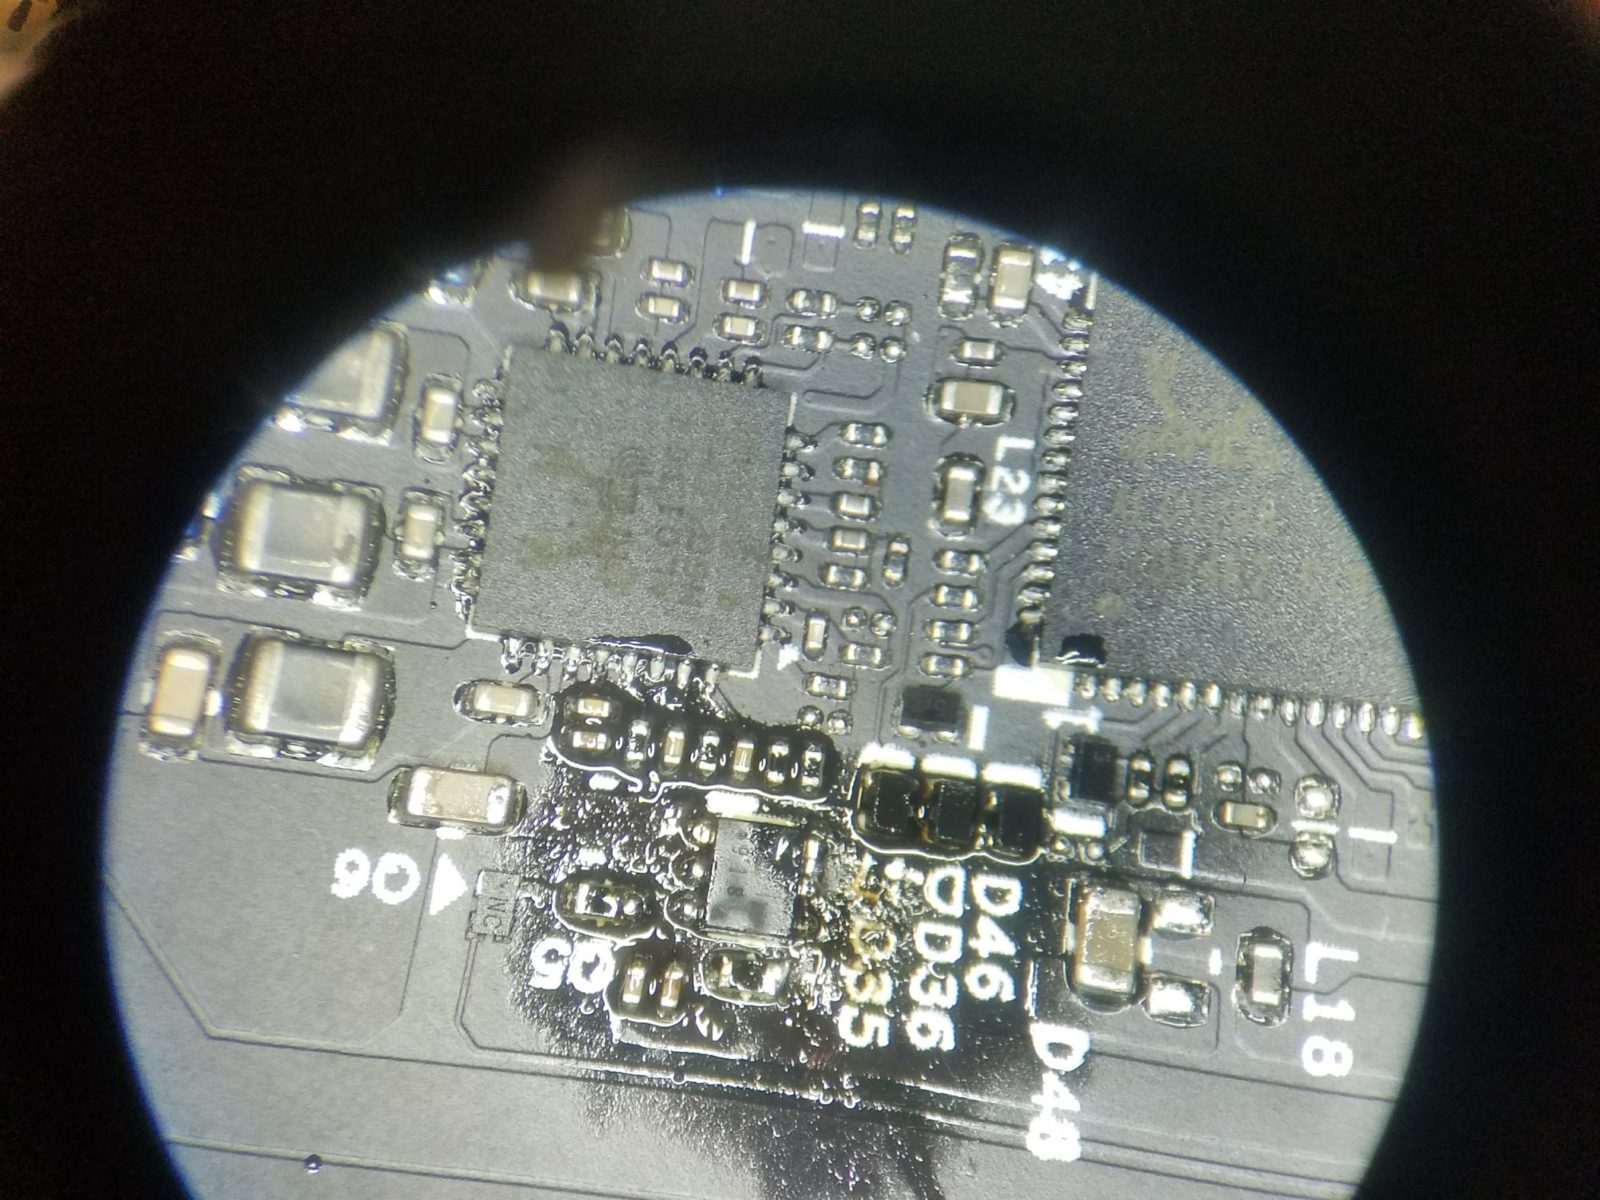
The first step is to flood the area with low melting point solder, and lots of flux. This is important, as the solder used in laptops is lead-free and typically difficult to work with. If you are not careful you can rip the metal off the circuit board, and if that happens, there is very little you will be able to do to fix that.
Afterward, apply a lot of heat to one side of the transistor, and be patient. The transistor will conduct the heat to the other side and free up. You must use a high-heat, high power tip for this, such as the STTC-125.
The flux here is super important, if you don’t use it, the solder will oxidize and not free itself very well (or at all). It is very important to use rosin (tree sap) flux, as acid fluxes will damage the components on the circuit board.
This does mean that if the solder is already oxidized, the only way to fix that is to add more solder. An acid flux will on the contrary, dissolve this oxide, but at the expense of the lifetime of your circuit board.
Once the transistor is freed, place the new transistor on and, carefully apply solder to its pins individually. You must use a fine tip for this like the STTC-001 or you might bridge the pins on the mosfet, and you’ll have to clean up the mess and re-seat it.
Once you’ve replaced the transitor it’s important to remove the remaining flux –not because it can damage the board, but, because its presence might change the impedance of high speed traces and ruin the signal integrity of high speed data buses.

To do this, use anhydrous isopropanol and a toothbrush, followed with a spray of di-ethyl ether (“engine starting fluid”). This two-component cleaning solution will dissolve the flux, and evaporate quickly, but not leave behind any caustics (like water) which can damage the PCB.
After the flux is removed, we can see the new transistor in place of the old one.
It is very likely that the reason the transistor failed was because of poor cooling, as it is a low cost, high-resistance transistor that is running near its design limits.
To prevent the problem from re-occuring, a soft / deformable silicone heat transfer pad can be applied to sink excess heat to the aluminum shell of the computer. In the 1990s, this was a very popular way to keep the motor controllers in CD-ROM drives cool without any additional hardware.
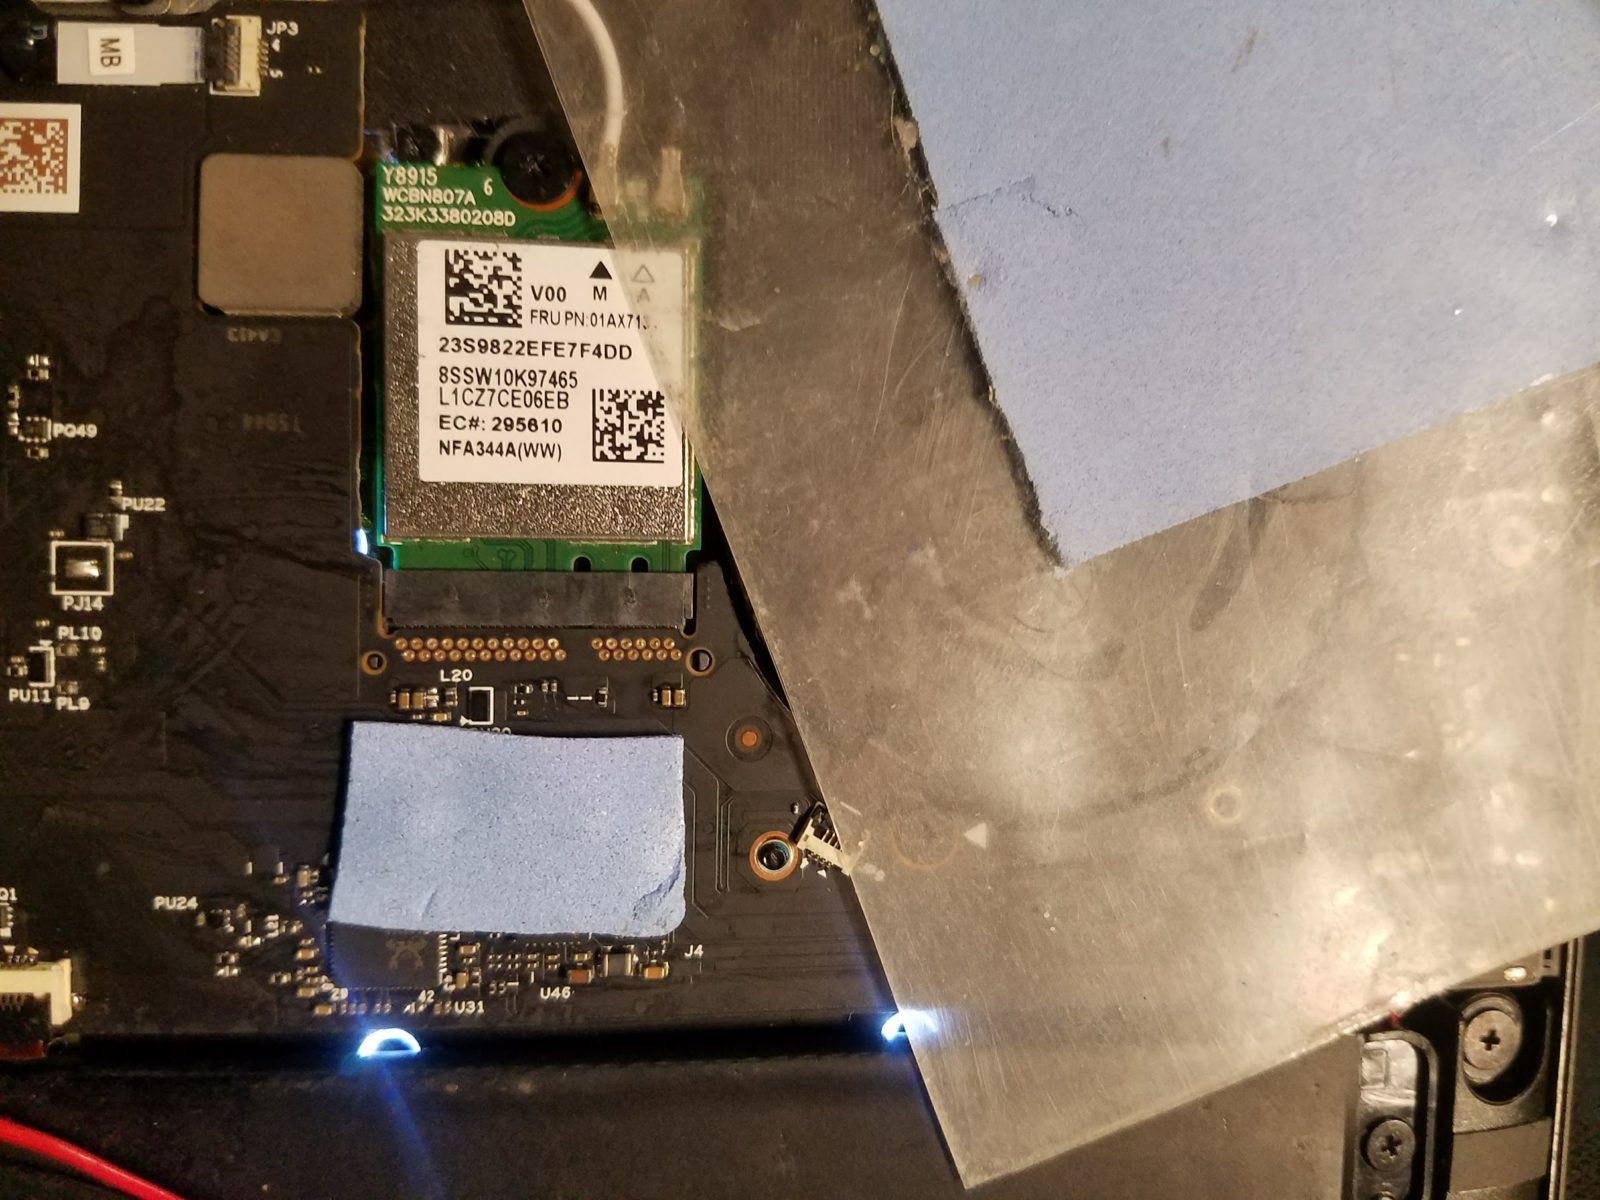
It is plausible that adding this simple thermal pad to their laptops, Lenovo could avoid future losses of both money and the goodwill of their customers. :-)
And lo, she speaks yet again!
Unfortunately this doesn’t do anything to fix my USB-C port, which also failed on me. Sadly the USB-C hardware in this computer uses wafer-scale ball grid array ICs which I may not be able to replace myself. :-(.
J
What if it’s a feature?
Like, what if, in the spirit of planned obsolescence, lenovo decided to help you out by programming their bios to check the date and load different voltages in the audio firmware if it’s past the date?
Typed on a lenovo yoga c630, lets hope they dont get me too :P
IHateLenovo
U fuc*** Nailed it proud of You LMAO
David
I had a yoga 920 that the audio and one usb-c port went out just before the year warranty. Just before final exams in my graduate school program. Luckily, I bought the extended warranty after that, because it took sending my laptop back 2 times, and the issue still wasn’t fixed. I pressed for Lenovo to send me a new c930, with extended warranty.
lee
they also have an issue with touchscreens failing with hardware failures, forums full of them and no resolution for out of warranty devices for a well known fault. terrible company and will never buy another lenovo.
Brian
Nice repair! I had a Yoga 910 and the screen started to flicker really bad last year and was unusable. The forums have lots of posts with the same problem. I took the laptop apart and examined both sides of all PCBs with a magnifying glass and didn’t see any visible damage. I also didn’t see any obvious damage to the ribbon cables either. I won’t buy another Lenovo product again after seeing how widespread that particular issue is with no acknowledgment from Lenovo about the problem.
Mike
Currently have a Yoga partially tore apart – screen died, working on installing a new one. It’s a $1k brick (albeit a light one) right now. Likely going away from the Yoga line, my wife had issues with hers also. It’s a shame, I really liked the machine while it worked.
Pete
I applaud your use of low-temp solder.. it’s an excellent way to make repairs like this easier. However, I’d suggest a hot air rework station as better solution than a soldering iron, even with high heat and a small tip.. With hot air, a low-temp bizmuth-based solder, and no-clean flux, this repair should be quick and easy.
Andre
Hi Adam,
Thank you so much for posting this repair!
I have the same problem (lost audio in speakers), but the culprit in my case seems to be the passive component just to the upper left of the “U46” label. In your micrograph photo’s orientation at the beginning of your post, it’s the medium-sized rectangular part directly above that label, between the “U46” label and the large square-ish passive part. On my 920, that part has charred flakes on the outer layer. It looks like a ceramic cap or a resistor, but I have no way of positively identifying it. If you still have that schematic, would you mind telling me the specs of that component?
Adam
I’m pretty sure it’s a ceramic capacitor but I could not tell you what flavor.
Andre
Where did you find the schematic?
Adam
I do not remember, I believe I just searched for “920-13ikb schematic” on the googs until I found a (free) PDF.
Andre
Found it, after some twists and turns through paid stuff.
For anyone else who needs one, it’s also known as “Yoga 920 LCFC NM-B291 ( DYG60 )” or the “Yoga920 KBL-U42 SIT Schematic”. Eventually you’ll find a freebie along the way :)
The info of interest is on page 42, “SMART-AMP”.